One dark and cheesy night I was sitting in the warmth of my apartment. Looking at the gloomy weather I decided to grab my Nintendo Switch and check if there’s some awesome new indie offerings on the online store. Little did I know the hell was about to break loose as the already laggy store interface started to fight my commands. The left analog stick had started to act up, by sticking to one direction. Eventually, it got so bad that it made me look for a pair of new joy-cons. Thanks to Nintendo’s pricing policy I quickly decided to ditch the idea of buying new ones and went looking for replacement parts. Soon I found the solution from a certain behemoth of an online store and was itching to perform the DIY (Do It Yourself) heart surgery on my dear Joy-Cons.
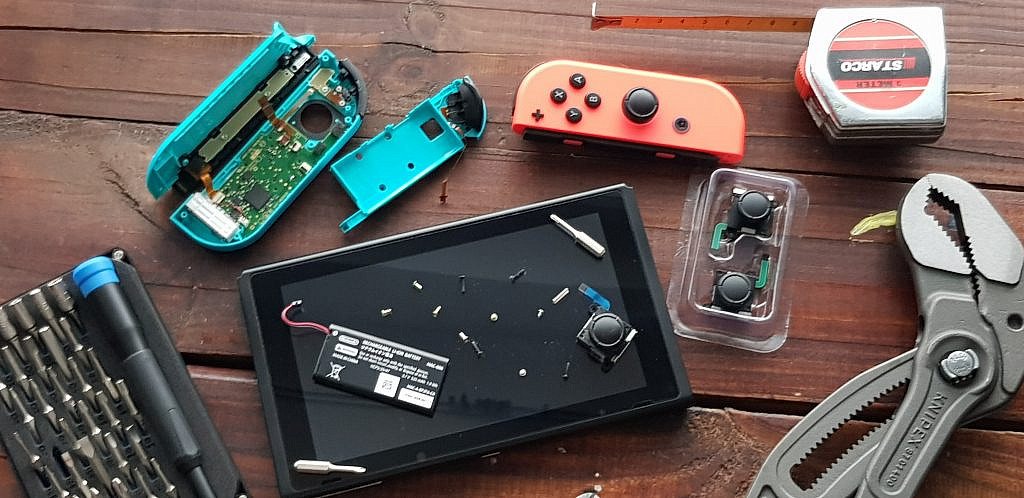
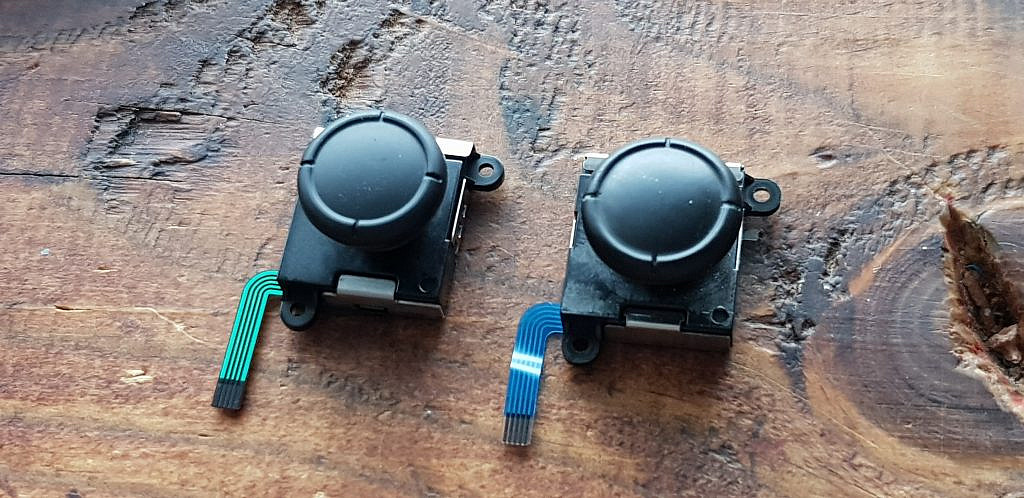
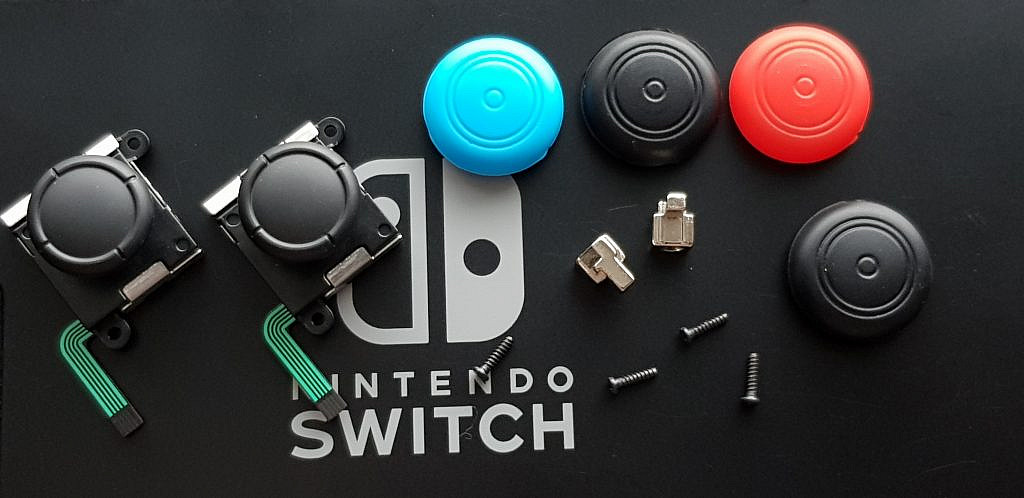 The Vastar branded kit involves two thumbsticks, caps, screws, and new locks for the Joy-Cons. Compared to many other kits there are no special screwdrivers included. I had to purchase a driver kit with Tri-point Y00 and Phillips #00 heads. Contrary to the photos you don’t necessarily need half a meter long pliers or drill, side-cutters, random bolts, etc for this task, but hey it is always good to be prepared. Though having all that extra, I did miss a pair of tweezers for those pesky ribbon cables and their minuscule locks.
Taking the Joy-Cons apart is a relatively easy job to do, and there is a wide selection of YouTube videos on how to perform the process. One thing I would advise is doing it on a table without large cracks, as the smallest little springs tend to roll into them (and taking a table apart to get to them is a much bigger job). Putting the Joy-Cons back together was a little more time-consuming, as lining everything up and plugging those tiny ribbon cables in required a bit more patience and effort.
But how do the new sticks feel? The tension of the Vastar’s analog is not as tight as the original Nintendo’s, but honestly, it is hard to even notice a difference. The controller inputs work flawlessly from the clicks to every degree of angle and rotation. Only the provided silicon thumbstick caps had some untrimmed material on them, but other than that the quality to price ratio of this kit seems to be on point. Time and further usage will tell if the surgery was worth the effort, but so far, I’m happy with the time and resources spent on this little project.
I recommend this DIY fix to anyone who is done with the drift and willing to take a small risk with their controllers. The process demands steady hands, a bucketful of patience, a couple of specialized tools, and a healthy interest in tinkering!
Brand: Vastar
Seller: Amazon.de
Platform: Nintendo Switch
Type: Joy-Con replacement parts
Pictures: Taken by the author
You might also like
More from Toys and Gadgets
Build Your Own Car Collection, A Review of Lego Speed Champions Series
Looking for a hobby that won't take your entire time and savings account at the same time? These Lego sets …
The Future of Handheld Gaming? A Review of Playstation Portal
New Playstation handheld gaming device is here, but it’s not following the steps of its predecessors. It is determined to …
The PSVR2 – More like a Blizzard Game than an Indie Title
Cable-bound but capable, comfortable, and accessible, the PSVR2 is a virtual reality (VR) headset that prioritises a smooth experience over …


